Stop wasting fabric on flat apron patterns that pull at your neck. An expert guide to finding structural, movement friendly designs at apronsewingpatterns.com
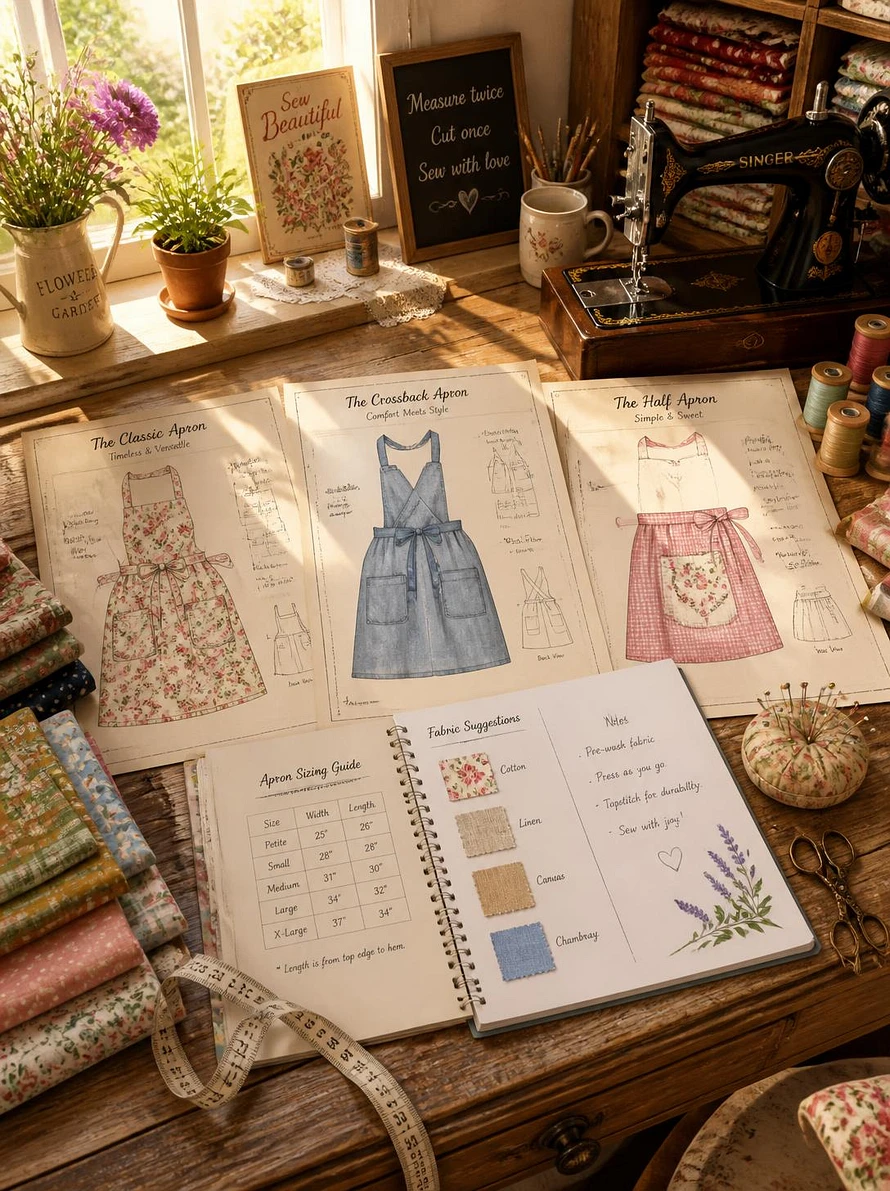
If you spend more than twenty minutes standing at a kitchen counter, easel, or workbench, a standard neck tie apron becomes a liability. The weight of your tools, the drag of heavy fabric, and the repetitive motion of your arms quickly turn a basic neck strap into a slow moving tourniquet. You don't need another generic rectangle with strings; you need a pattern engineered for human movement.
The Anatomy of a Working Garment (Not a Costume)
Most free apron patterns floating around the internet are drafted for aesthetics, not utility. They treat the apron as a flat, two dimensional canvas meant to showcase a cute novelty print. But an apron is a piece of protective equipment.
A well drafted pattern accounts for the curvature of the chest, the expansion of the ribcage when reaching, and the necessary ease over the hips. When you look at a pattern schematic, you shouldn't just see a large rectangle with two cutouts for armholes. You should see graded curves and strategic darts. If a pattern instructs you to use a single layer of cheap quilting cotton without any structural reinforcement, it will inevitably tear at the waist ties after a few washes
To understand why a poorly drafted pattern fails in the real world, you only need to look at how it anchors to your body.
Why the Cross-Back Pinafore is the Only Rational Choice
The standard D ring neck tie is functionally obsolete for serious work. Hanging a half pound of fabric and another pound of kitchen utensils directly from your cervical spine causes cumulative neck strain.
This is where the Japanese-style cross-back pattern a staple offering at apronsewingpatterns.com solves a structural flaw. By crossing the straps over the upper back, the weight of the garment is distributed across the trapezius and deltoid muscles. It slips on over the head without a single knot to tie.
A high-quality cross-back pattern will feature wide straps (at least 2 inches). Narrow straps will roll up under tension and dig into your shoulders, defeating the purpose of the crossover design entirely.
But weight distribution is only half the engineering equation. Once the apron is resting properly on your shoulders, you have to look at how it holds your tools.
The Pocket Problem: Placement and Reinforcement
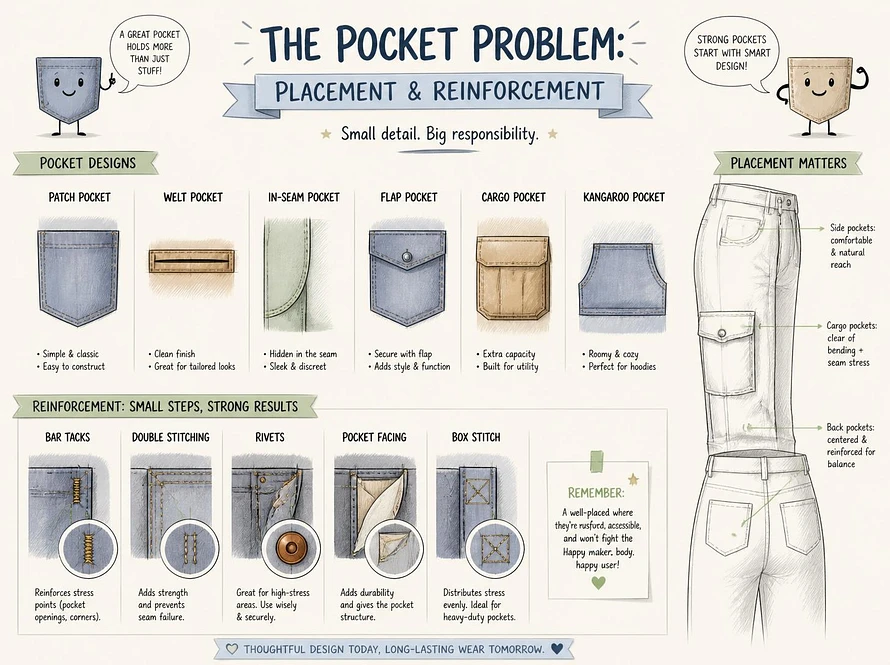
Most beginner patterns stick two flat squares of fabric dead-center on the thighs. This is useless. When you bend over to pull a heavy Dutch oven out of the stove, whatever is in those front center pockets either stabs your hip flexors or falls out onto the floor.
Proper pocket drafting places the storage toward the side seams, resting on the outer thigh. The entry points should be slightly angled to match the natural resting path of your hands.
More importantly, look at the pattern's sewing instructions for the pocket corners. If the pattern doesn't explicitly tell you to sew a bar tack or a reinforced triangle at the top corners of the pockets, throw the pattern out. Without that reinforcement, the first time you catch the pocket on a cabinet handle, it will rip a hole directly through the body of the apron.
Of course, even the best pocket reinforcement won't save you if you choose the wrong foundation.
Fabric Weight Dictates the Pattern (Not the Other Way Around)
You cannot force a delicate vintage pattern to work with 10-ounce duck canvas, and you cannot build a rugged chef's apron out of lightweight linen. The pattern's seam allowances and finishing techniques must match the material.
If you are sewing a utility pattern intended for heavy denim or canvas, the pattern should call for flat felled seams or bias-bound edges. Heavy fabrics cannot handle enclosed French seams without creating a bulky, unsewable mess at the corners. Conversely, it is impossible to say exactly how much shrinkage you'll get from a washed linen on a cross-back apron without testing it yourself humidity and weave density vary wildly but expect at least a 5% reduction. If the pattern doesn't remind you to pre-wash your fabric to account for this, it's setting you up to sew an apron that will warp on its first laundry cycle.
Knowing what to look for makes sourcing your next project significantly less of a gamble.
Navigating apronsewingpatterns.com for Your First Build
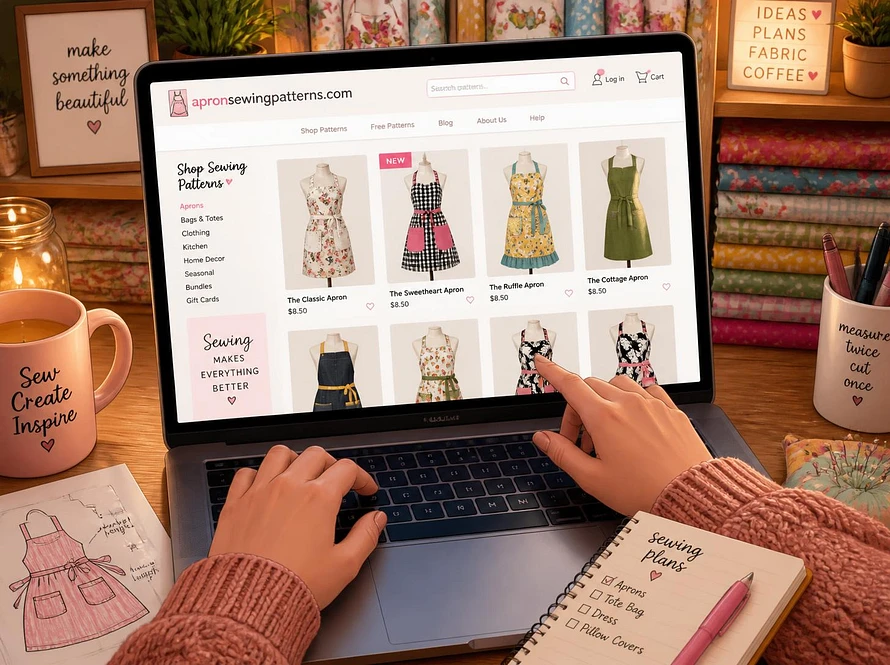
When you browse the collections at apronsewingpatterns.com, bypass the impulse to look at the finished photos and look strictly at the line drawings and pattern features.
If you need a heavily protective garment, their Chef Apron Patterns are drafted with the necessary durability and deep, side-shifted pockets required for culinary work. If you want mobility and long-wear comfort, route directly to their Cross Back Apron Patterns. They offer instant PDF access, meaning you can check the cutting layouts and seam finish requirements before you commit to cutting into your expensive yardage.
Start with a pattern that addresses your specific physical requirements, not just the aesthetic of your kitchen.
Sewing an apron shouldn't be treated as a disposable, throwaway practice run just because the garment gets dirty. It is the uniform for the work of your life. Draft it like a piece of armor, construct it with intention, and it will outlast the kitchen you wear it in.
-
5 key takeaways:
-
Neck-tie aprons place undue strain on the cervical spine; cross-back patterns distribute weight properly across the shoulders.
-
Pockets must be placed toward the side seams, not dead-center, to prevent tools from jabbing your legs when bending.
-
Every pocket corner must be reinforced with a bar-tack or triangle stitch, or it will eventually tear the main fabric.
-
Match your seam finish to your fabric weight: flat-felled seams for heavy canvas, French seams for lightweight linens.
-
Evaluate patterns based on their structural line drawings and dart placements, not the novelty fabric used in the sample photos